Before You Start Looking for a New Front Door Take These Photographs
Before You Start Looking for a New Front Door Take These Photographs
Choosing a new front door should be enjoyable. In reality, it can quickly become overwhelming. Once you start looking, you are faced with different colours, finishes, handles, glazing arrangements and hundreds of designs, all photographed to look their best.
The difficulty is that a front door is rarely seen in isolation. It sits within the whole front of your home, alongside the brickwork or render, windows, roofline, porch, steps and surrounding glazing. A door that looks perfect in a brochure may feel completely different when placed within that setting.
Before you begin saving designs or requesting advice, spend five minutes taking a useful set of photographs. They will help you judge what genuinely suits the property and give an installer much better information during those early conversations.
Start with the whole house
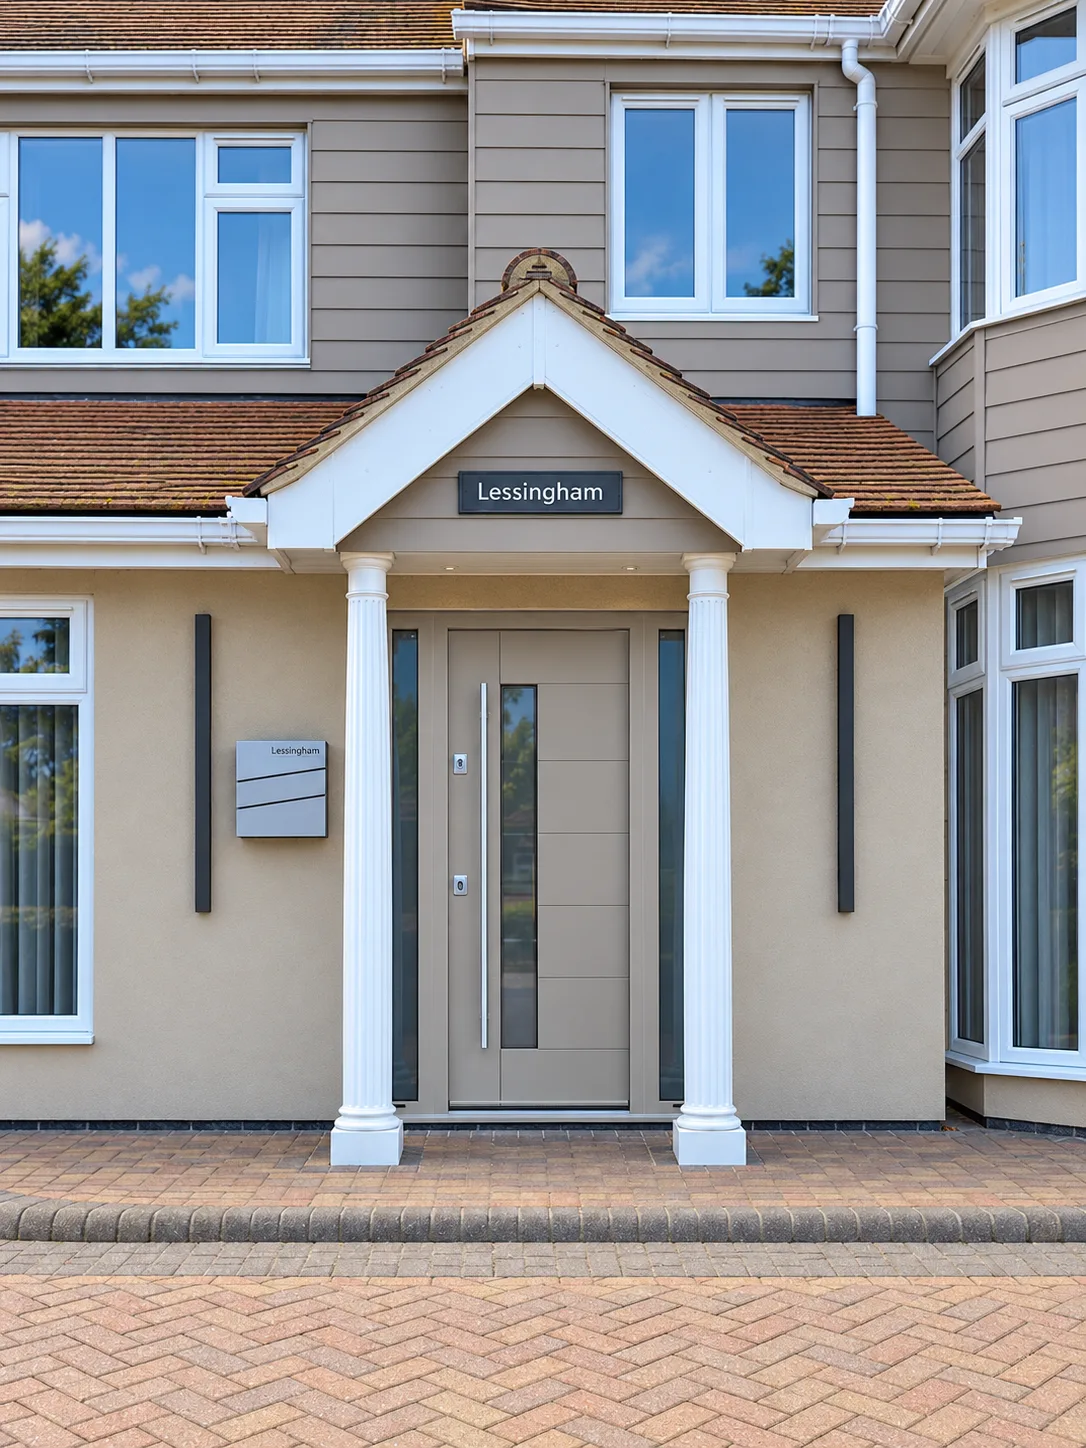
Begin with a clear, straight-on photograph showing the entire front of the property. Try to include the roofline, windows and the complete entrance rather than filling the frame with the existing door.
This is the image that provides the most important design context. It shows whether the house is traditional or contemporary, tall or wide, symmetrical or deliberately irregular. It also reveals the colours and shapes that already dominate the frontage.
When you later compare possible doors, return to this photograph. Ask whether the proportions, colour and glazing pattern feel connected to the rest of the property or whether the door appears to have arrived from somewhere else entirely.
Move closer to the entrance
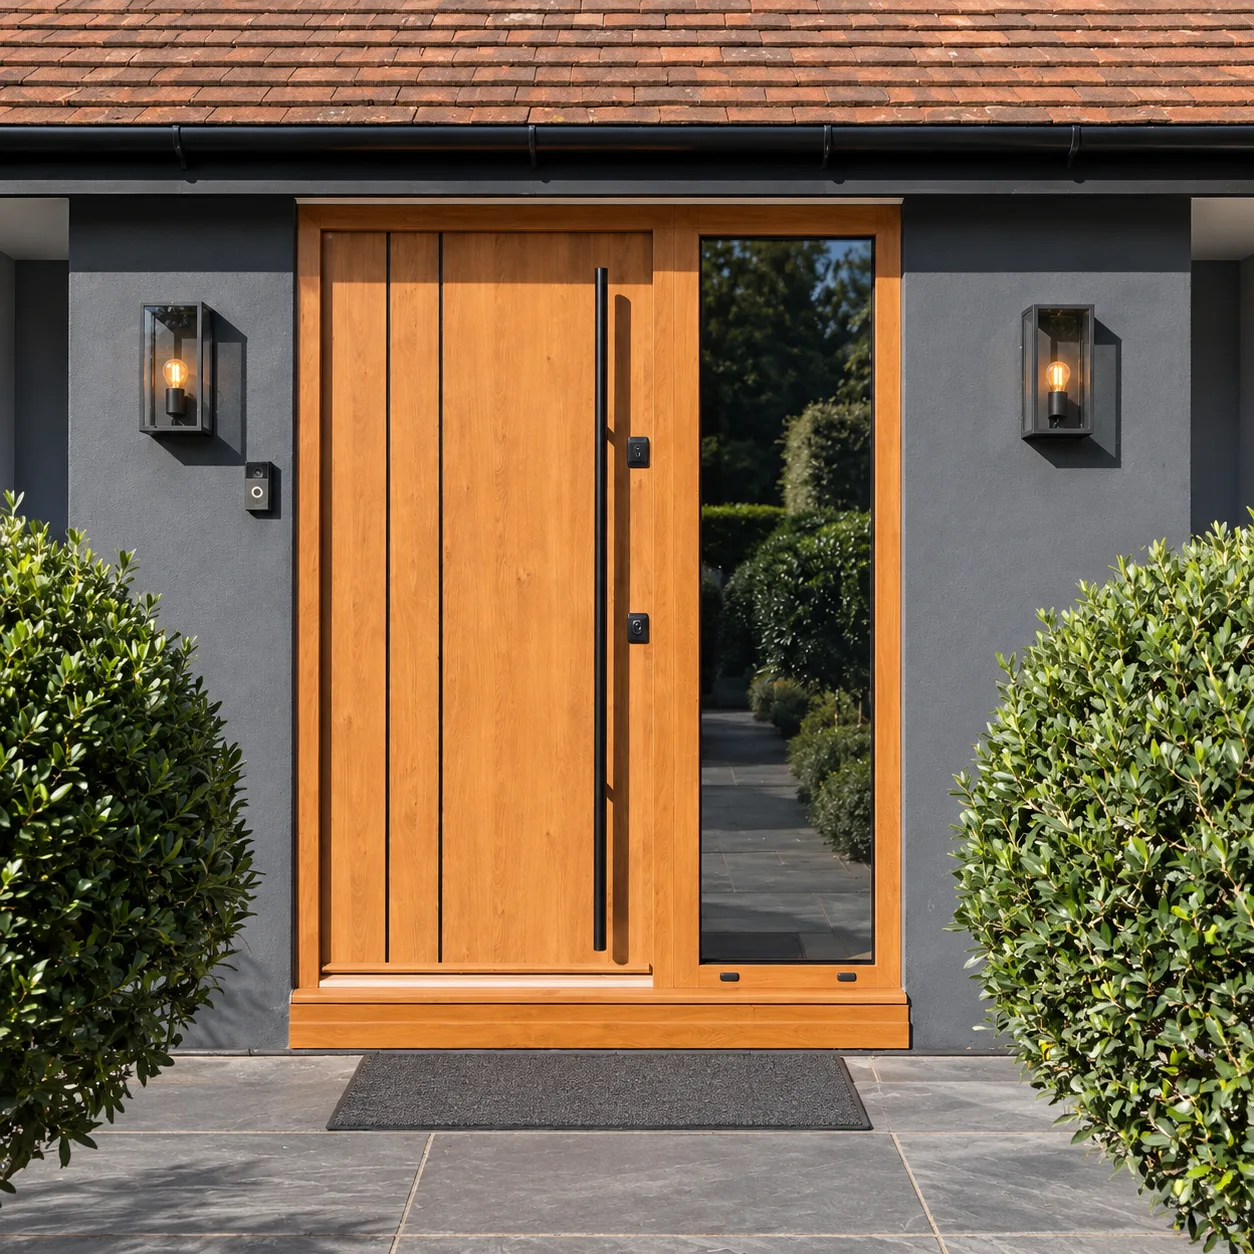
Next, take a straight-on photograph of the complete entrance. Include the door leaf, frame and threshold, together with any sidelights, toplight, porch, canopy, steps or surrounding glazing.
These details can dramatically affect the final appearance. A narrow entrance may suit a different arrangement from a broad opening with two sidelights. A deep porch can change how a colour appears, while steps and thresholds may influence the practical choices that need to be discussed.
Do not crop out the apparently uninteresting parts. The areas around the door often contain the information that is most useful to the person advising you.
Photograph it from an angle
A straight-on image is ideal for judging appearance, but it can flatten the entrance and hide its depth. Take another photograph from one side so that the reveals, porch, sill and any projection from the wall can be seen more clearly.
If the entrance is exposed to the prevailing weather, it is also useful to show what sits above and around it. The picture may reveal how sheltered the doorway is and whether rainwater, paving or surrounding building details deserve closer attention during the professional survey.
Do not forget the view from inside
Take at least one photograph from the hallway looking towards the closed door, followed by another showing the door open. Include as much of the surrounding floor and wall as possible.
This helps record the opening direction, the space available inside and anything close to the entrance, such as a radiator, cupboard, alarm sensor or light switch. It also reminds you to consider the inside colour and finish. You will see that side of the door every day, so it deserves more than an afterthought.
Capture the details that matter to you
Now take a few close-ups. Photograph any handle, letterbox, knocker or glazing detail you particularly like. Do the same for anything that annoys you or no longer works well.
If the current door sticks, rattles, lets in a draught or shows signs of water around the threshold, record the relevant area. These pictures cannot diagnose the cause on their own, but they can help you explain the problem clearly when you ask for advice.
It is also worth photographing the nearby windows, brickwork, render and other permanent finishes. Colour names can be surprisingly deceptive, particularly when you are comparing images on different screens. Seeing the existing materials together makes it easier to decide whether you want the new door to blend in or create a deliberate contrast.
Keep the photographs useful
Take the pictures in good daylight where possible and avoid relying on digital zoom. A wider, sharper photograph can always be cropped later; a close, blurred image cannot reveal detail that was never captured.
Create a folder on your phone called something simple such as New Front Door and keep the images together. You can then add screenshots of designs you like and compare them with the same photograph of the property, rather than judging each product against a white studio background.
You may also find it useful to separate your choices into three groups: features you must have, details you would prefer and things you definitely do not want. The photographs provide the setting; that short list keeps the search manageable.
Photographs help but they do not replace a survey
A good set of photographs can make the first conversation more productive, help an installer understand the broad shape of the project and reduce the need to revisit basic questions. What they cannot do is provide the accurate dimensions and site checks needed to order and install a door safely.
Perspective can distort proportions, hidden details may not be visible and the condition of the surrounding structure needs to be assessed properly. Final measurements and specifications should always be confirmed through a professional survey before anything is manufactured.
The aim of taking the photographs is not to do the installer’s job. It is to help you explore the right ideas, ask better questions and recognise the design that genuinely belongs on your home.
The best-looking front door is not necessarily the one that appears most impressive in a brochure. It is the one that looks right as part of the whole house. A few thoughtful photographs give you a much better place from which to begin.